Create Planters from Cans
Create Planters from Cans
Crafting New Items from Old Materials: Create Planters from Cans
In today's world where sustainability is key, repurposing old items into new and creative pieces has become a popular trend. One simple yet effective way to do this is by creating planters from cans. Not only does this help reduce waste, but it also adds a unique touch to your indoor or outdoor space.
Materials Needed:
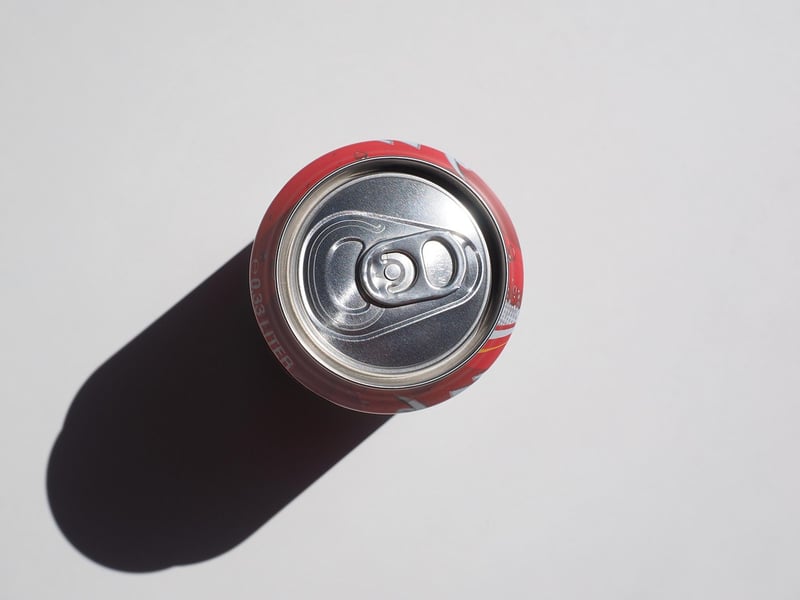
- Empty cans (cleaned and dried)
- Spray paint or acrylic paint
- Drill with a small drill bit
- Soil and plants
- Decorative elements (optional)
Step-by-Step Guide:
1. Prepare the Can:
Start by ensuring the can is clean and dry. Remove any labels and adhesive residue from the surface. This will provide a clean base for your project.
2. Create Drainage Holes:
Using a drill with a small drill bit, carefully create a few drainage holes at the bottom of the can. This step is crucial to prevent waterlogging and ensure proper drainage for your plants.
3. Paint the Can:
Get creative with colors! Use spray paint or acrylic paint to decorate the can as desired. You can opt for solid colors, patterns, or even create intricate designs to suit your style.
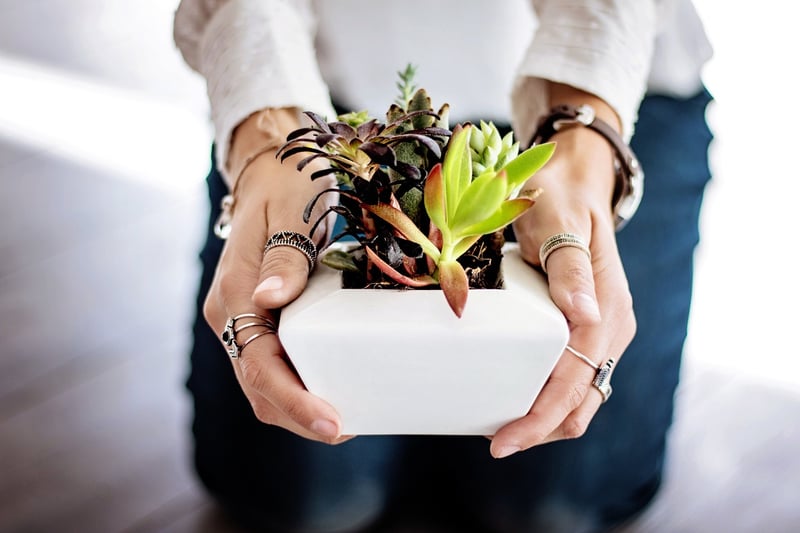
4. Add Soil and Plants:
Once the paint is dry, fill the can with soil and plant your favorite herbs, flowers, or succulents. Make sure to choose plants that are suitable for the size of the can and its environment.
5. Personalize Your Planter:
Enhance your planter by adding decorative elements such as ribbons, labels, or small ornaments. Let your creativity shine and make your planter truly unique.
Benefits of Creating Planters from Cans:
- Upcycling old materials
- Customizing planters to suit your style
- Adding greenery to your space
- Promoting sustainability
- Cost-effective and fun DIY project
Embrace your creativity and contribute to a greener environment by transforming ordinary cans into beautiful planters. Try this simple and rewarding DIY project today!
For more inspiration and ideas on upcycling and DIY projects, check out Pinterest.